Create Your Own Tor Relay - Networking
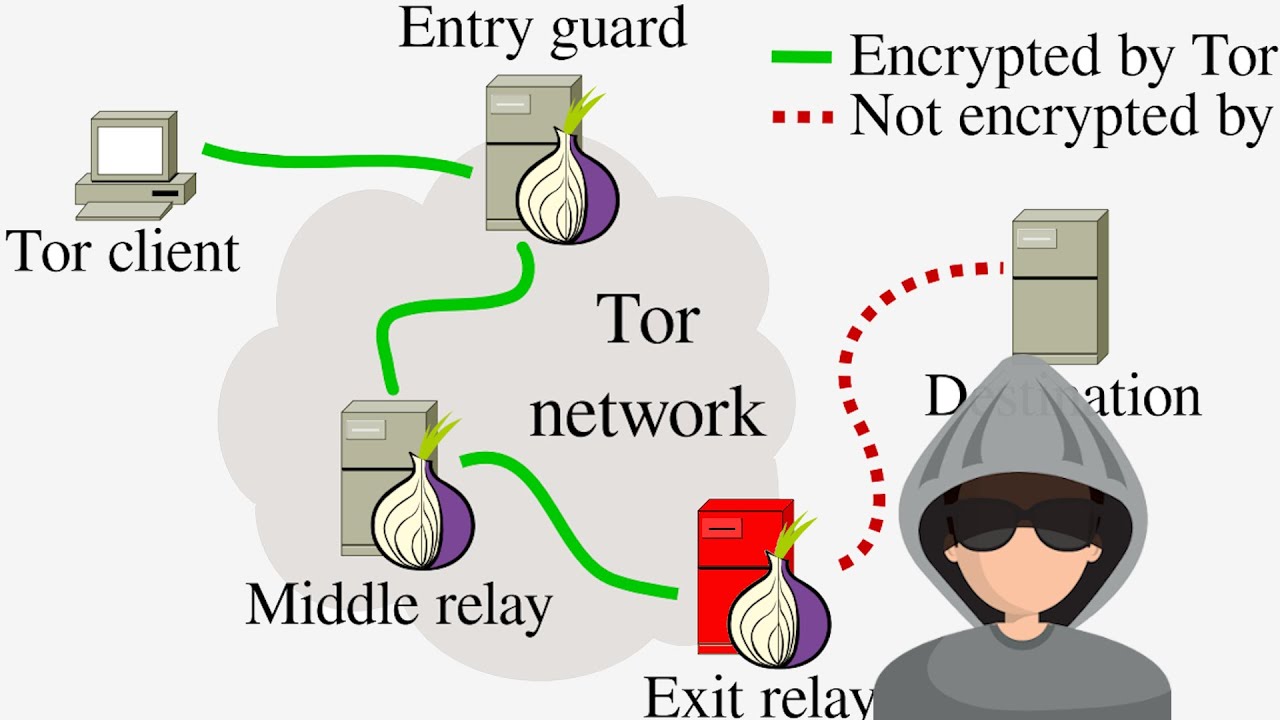
In today’s post we are going to see how to configure a Middle relay in order to contribute to the tor project, as you can see in the image, Middle relays work as second hop in the tor proxy chain, we are going to cover the installation and configuration, we will also see how to monitor our node and some networking tips to improve our connectivity.
If you run your tor relay for 2 months, you can get a free T-shirt by sending an email to tor foundation.
All you need to know
A non-exit relay should be able to handle at least 7000 concurrent connections. This can overwhelm consumer-level routers. If you run the Tor relay from a server (virtual or dedicated) in a data center you will be fine. If you run it behind a consumer-level router at home you will have to try and see if your home router can handle it or if it starts failing. Fast exit relays (>=100 Mbit/s) usually have to handle a lot more concurrent connections (>100k).
It is recommended that a relay have at least 16 Mbit/s (Mbps) upload bandwidth and 16 Mbit/s (Mbps) download bandwidth available for Tor. More is better. The minimum requirements for a relay are 10 Mbit/s (Mbps). If you have less than 10 Mbit/s but at least 1 Mbit/s we recommend you run a bridge with obfs4 support. If you do not know your bandwidth you can use http://beta.speedtest.net to measure it.
It is required that a Tor relay be allowed to use a minimum of 100 GByte of outbound traffic (and the same amount of incoming traffic) per month. Note: That is only about 1 day worth of traffic on a 10 Mbit/s (Mbps) connection. More (>2 TB/month) is better and recommended. Ideally a relay runs on an unmetered plan or includes 2 TB/month or more.
If our Middle relay works as intended, will be promoted to Guardian (Entry Guard) after some time.
In my case, I rented a VPS server with a Debian based machine, this installation will be focused on debian based distributions, anyway, if you want to set up the relay in another Linux distribution or Windows machine you can follow the tor technical setup.
Installation & Configuration
The first thing we need to do is to update and install tor service.

Once we have tor service installed, edit the configuration file /etc/tor/torrc and add the following information wherever you want.
Nickname Will be our node name.
ContactInfo A contact mail so the users and other tor nodes can contact you in case something is needed, this is not mandatory but will increase our reputation faster.
ORport The port that the relay will use to establish the connections, in my case I will use only IPv4.
ExitRelay 1 means we are configuring the relay as exit node, 0 means Relay node.
SocksPort We will set a SocksPort if we want to configure our node as Bridge.

Now you should be able to start the node service systemctl start tor.

And check the tor logs, if you get this messages, your node is working as intended cat /var/log/syslog | grep tor -i.

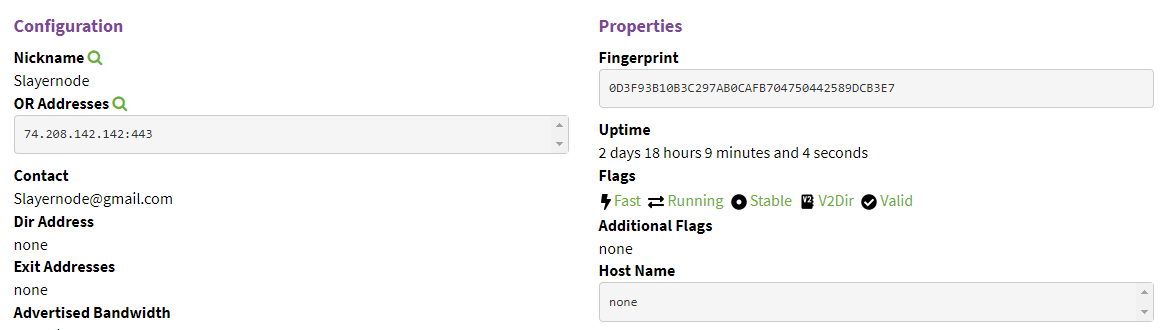
Now you just need to wait between 20 minutes and 2 hours and your node will show up into the tor metrics webpage.
This is the basic configuration, if you have come this far I recommend you to set up the following monitoring software and networking rules.
Monitorization and Network Rules.
In order to see what is happening with our relay, analyze the traffic and much more, we are going to install the Tor Nyx command-line monitor.

Download nyx apt-get install nyx -y.

Nyx needs to connect to our relay in order to monitor the activity, so we need to make some changes.
We will first create a password to access nyx, by using the following command we will create the hashed password that we will paste in the configuration file.

Copy the hashed password and edit the tor configuration file /etc/tor/torrc, we are also going to enable the ControlPort so nyx can connect to our relay.

Save and restart tor service, systemctl restart tor.
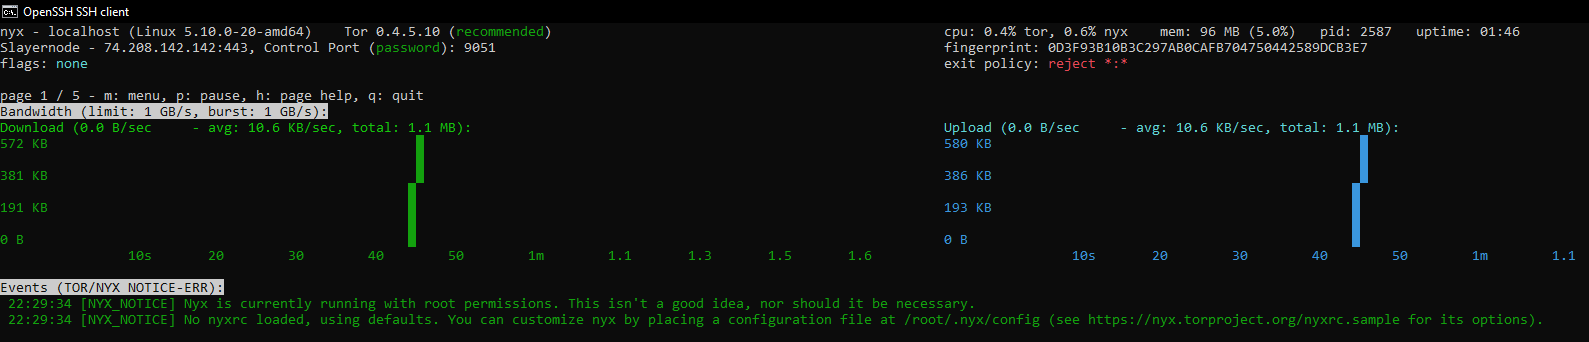
Type nyx into the command line and nyx will start showing you the metrics, is time to explore the tool by yourself.

In the past months, tor network operators where receiving DDOS attacks, Im going to show you how to handle this problem.
Edit /etc/sysctl.conf and add this configuration.
nano /etc/sysctl.conf

net.ipv4.tcp_fin_timeout = 20

net.ipv4.tcp_keepalive_time = 1200

net.ipv4.tcp_syncookies = 1

net.ipv4.tcp_tw_reuse = 1

net.ipv4.ip_local_port_range = 10000 65000

net.ipv4.tcp_max_syn_backlog = 8192

net.ipv4.tcp_max_tw_buckets = 5000
If you want to implement iptables to deal with these attacks, read the following github repository.
Now you just need to wait to receive more and more traffic, if you want to learn about the life cycle of a new relay, you should visit this tor post.
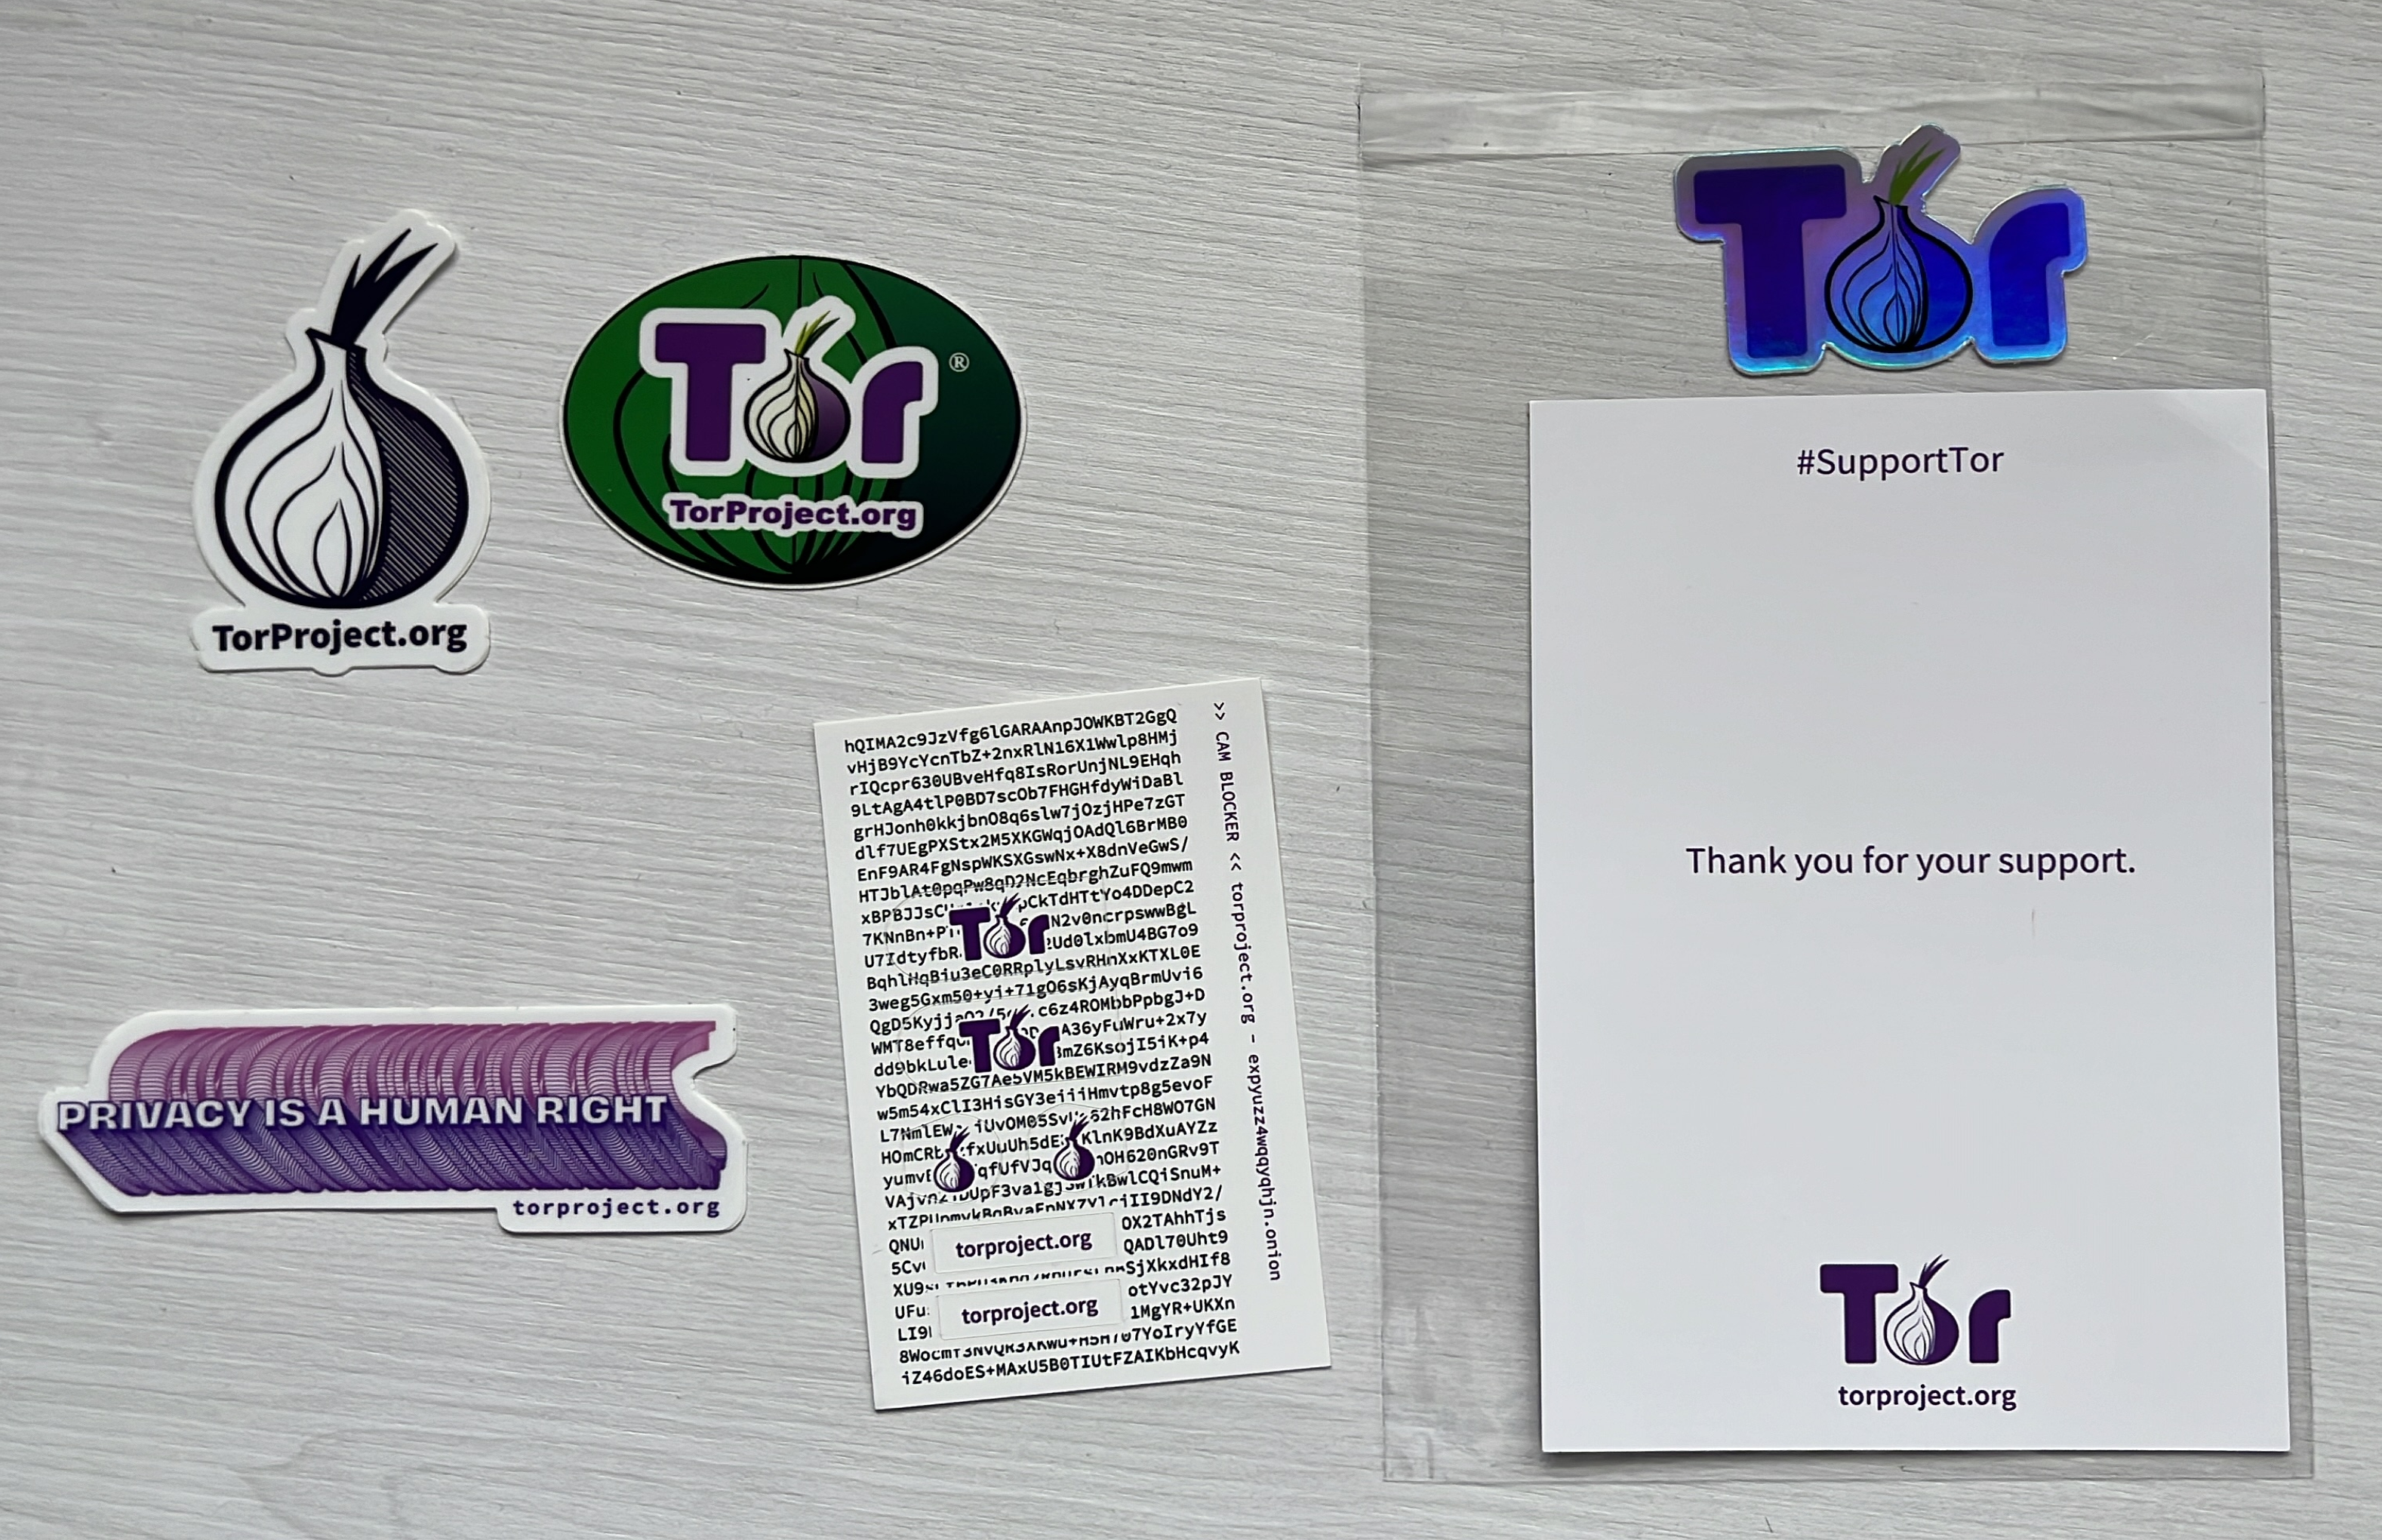
If you ever get the tor T-shirt, let me know! And thank you so much for supporting the tor project.
Update! I recived my T-shirt and Stickers from Tor Foundation: