Proxychains - Networking

We are used to hear people talk about VPNs, everyone knows what a VPN is, an intermediate server, which makes our requests to the different internet services and returns us the responses, VPNs are used to hide our public IP address and encrypt our traffic, in order to prevent man in the middle attacks. But not many people know the difference between a Proxy server and a VPN server.
Proxy Server
A proxy Server does not encrypt the traffic in most cases, proxy servers only work as intermediate between a computer and a server, as a result the proxy server will hide your identity from to the server but won’t protect any sensible data transmitted.
VPNs also encrypt all the network data generated by your computer, meanwhile, the Proxy Server only handle’s the network data form a specific application (Firefox,Nmap,Metasploit…).
Proxy Servers work with HTTP,HTTPS,Socks4 and Socks5 protocols in order to create the tunnels, if you want to learn more about socks you can check this link.
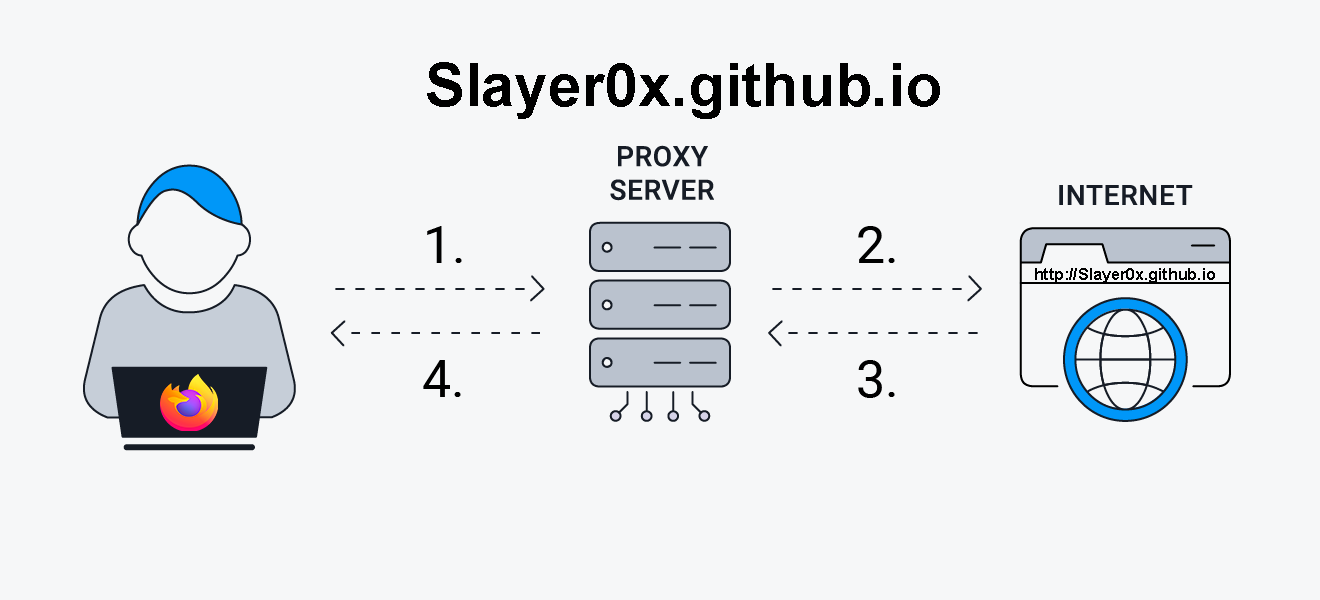
Proxy Chains
As its name suggests, Proxy Chains are a set of proxies chained one after another, in order to hide the client IP address and make it more difficult to trace. By doing this we get a strong protection of our public identity, but we lose a lot of speed due the multiple hops before reaching the server.
The number of proxy servers to use and the connection pattern can be configured.

Installation & Configuration
I will be using kali linux in this example, but you can use any other debian based distro following this steps.
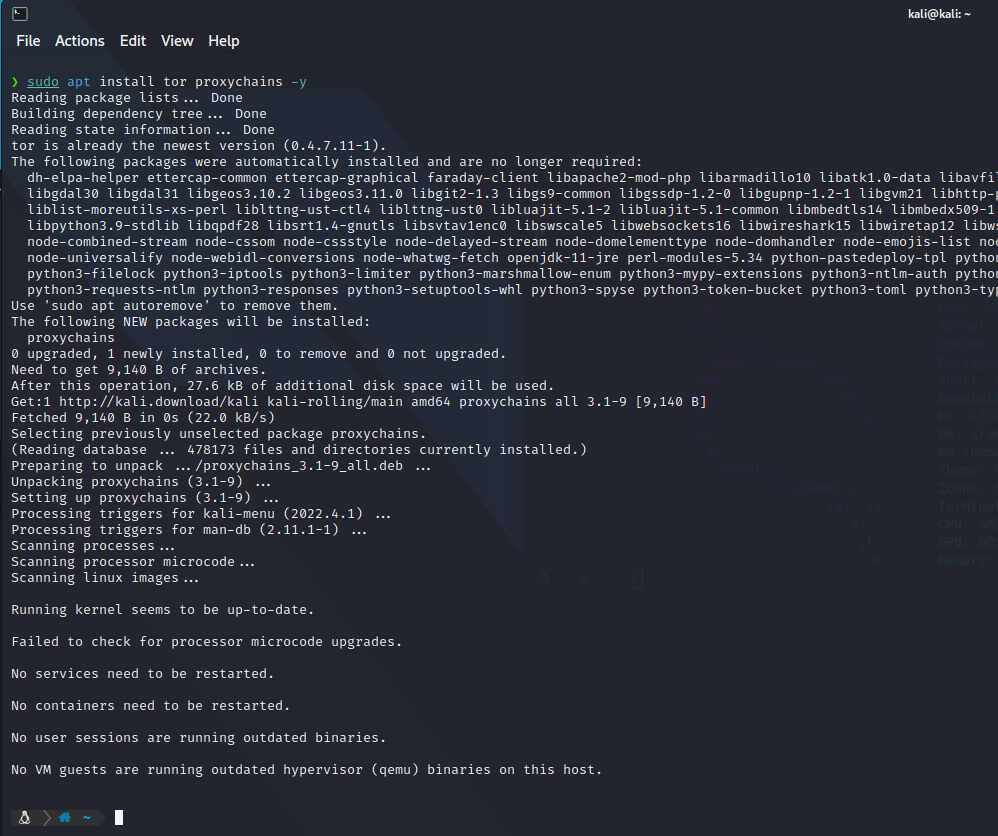
First of all we need to install proxychains, we will also install tor chain, which is a public proxy chain, but you can use your personal proxies if you wish.
sudo apt install tor proxychains -y
Once we have installed proxychains, we are going to edit the configuration files so we can chose how the chain will work.
The configuration file is located at /etc/proxychain.conf, but sometimes a new folder is created so they also may be at /etc/proxychains/.
One we are in the configuration file as root, we can chose between the following options.
dynamic_chain
Each connection will be done via chained proxies,all proxies chained in the order as they appear in the configuration list (we will see this later), at least one proxy must be online to play in chain, dead proxies will be skipped.
static_chain
Each connection will be done via chained proxies, all proxies chained in the order as they appear in the configuration list (we will see this later), all proxies must be online to play in chain.
random_chain
Each connection will be done via random proxy.
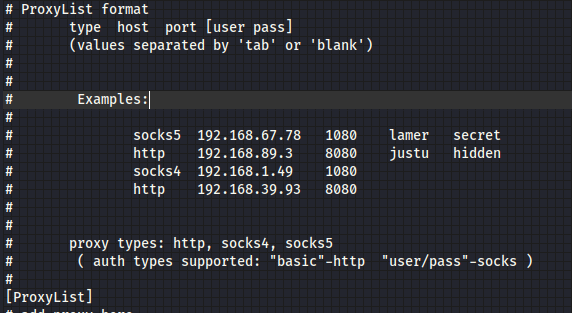
If we want to use static_chain or dynamic_chain without tor chain (which is the default one), we need to fill the following table, with the proxy’s address and the user-password combination.
In my case I will be using the random_chain, so we delete the commented line.
As we explained dynamic_chain chooses the proxy randomly, so we must specify how many proxies we want to use with the chain_len argument, only use this with the random_chain configuration.
I will be using 5 hops.
proxy_dns will use the proxychain to resolve DNS requests, is set by default, but you can comment it if you want to gain speed in your queries.
Finally, we must add socks5 argument at the end of the configuration file, so we can use the proxies which use the latest protocol.
Now is time to save the configuration file and start to use proxychains, if random_chain does not work for you, try strict_chain or dynamic_chain, this can be because we are using tor chain.
Usage
Start tor service.
sudo systemctl start tor
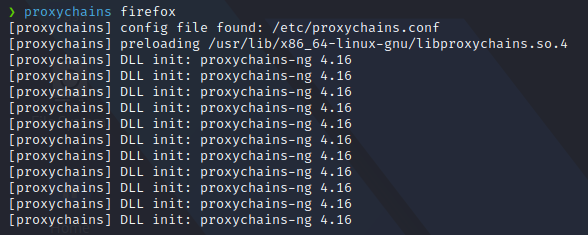
And now, we just need to type proxychains at the command prompt before the program we want to use, and enjoy our chain!.
A new instance of Firefox in this case will appear with proxychains running behind!.
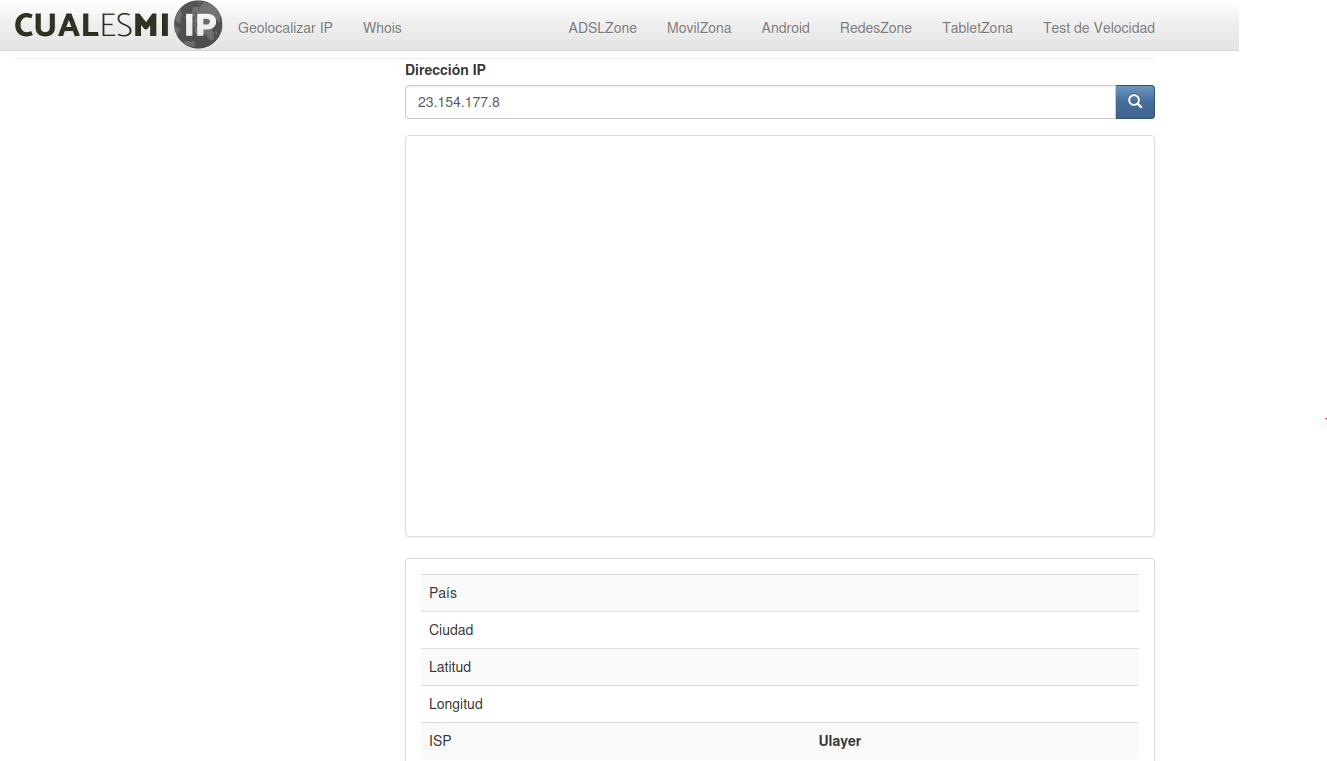
As you can see, IP geolocalization webpage, can’t guess any info.
I hope you have learned about proxies, networking concepts and how to hide your traffic on the internet, now is the time to enjoy proxychains from your side, try to use nmap and any kind of tool you prefer.
